
Do You Tile the Floor or Walls First? A Step-by-Step Guide

Do You Tile the Floor or Walls First? A Step-by-Step Guide When it comes to tiling a room, one of the most common questions homeowners and DIY enthusiasts ask is: Should you tile the floor or the walls first? The answer isn’t always straightforward, as it depends on the type of project, the room you’re working on, and your personal preferences. In this blog, we’ll break down the pros and cons of each approach and provide a step-by-step guide to help you decide the best order for your tiling project.
The Great Debate: Floor First or Walls First?
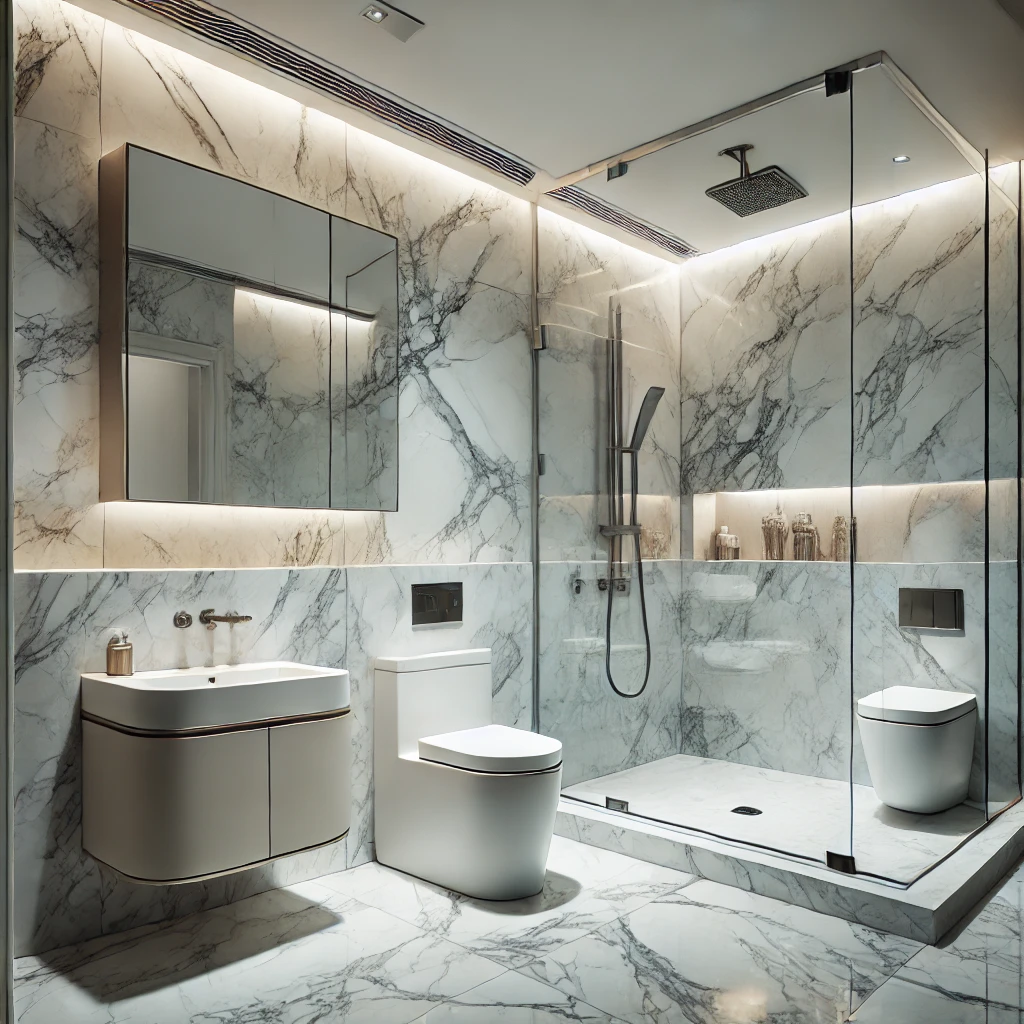
- Tiling the Walls First Tiling the walls before the floor is a popular approach, especially in bathrooms and showers. Here’s why:
Pros:
Less Risk of Damage: When you tile the walls first, you don’t have to worry about dropping tools or tiles onto a freshly tiled floor.
Easier to Work: You can stand on the subfloor while tiling the walls, which provides a stable surface to work from.
Better Alignment: Tiling the walls first allows you to align the wall tiles perfectly, and the floor tiles can then be cut to fit neatly underneath.
Cons:
Potential Gaps: If the wall tiles don’t extend all the way to the floor, you may end up with small gaps that need to be filled with caulk or trim.
Floor Protection: You’ll need to protect the subfloor from adhesive spills and scratches while working on the walls.
- Tiling the Floor First
Tiling the floor before the walls is another common method, particularly in larger spaces like kitchens or living areas. Here’s why some prefer this approach:
Pros:
Stability: Tiling the floor first provides a solid, level base for the wall tiles to sit on.
Aesthetic Appeal: Floor tiles can be installed first, and wall tiles can overlap them slightly, creating a clean, finished look.
Easier Cleanup: Any adhesive or grout that falls onto the floor tiles can be wiped away easily.
Cons:
Risk of Damage: Freshly installed floor tiles can be scratched or cracked if tools or materials are dropped on them.
Uneven Surfaces: If the floor isn’t perfectly level, it can make tiling the walls more challenging.
Which Should You Choose?
The decision ultimately depends on the room and your specific project. Here’s a quick guide:
Bathrooms and Showers: Tile the walls first. This prevents water from seeping behind the wall tiles and allows for better alignment.
Kitchens and Living Areas: Tile the floor first. This provides a stable base and makes it easier to install cabinets or appliances afterward.
Small Spaces: Tile the walls first to avoid damaging the floor tiles in tight areas.
Step-by-Step Guide to Tiling
- Prepare the Surface
Ensure the walls and floor are clean, dry, and level.
Apply a waterproof membrane in wet areas like bathrooms.
- Tile the Walls (If Starting with Walls)
Start from the bottom and work your way up, using spacers to maintain even gaps.
Leave a small gap at the bottom for the floor tiles.
- Tile the Floor (If Starting with Floor)
Begin tiling from the center of the room and work outward.
Use a level to ensure the tiles are even.
- Grout and Seal
Once the tiles are set, apply grout to fill the gaps.
Seal the grout to protect it from moisture and stains.
- Finish the Edges
Use trim or caulk to cover any gaps between the wall and floor tiles.
Pro Tips for a Flawless Finish
Plan Ahead: Measure the space and plan the tile layout before starting.
Use Quality Materials: Invest in good-quality tiles, adhesive, and grout for long-lasting results.
Work in Small Sections: This helps prevent the adhesive from drying out before you place the tiles.
Protect Your Work: Use drop cloths or cardboard to protect finished surfaces while working.
So, do you tile the floor or walls first? The answer depends on your project, but in most cases, tiling the walls first is ideal for bathrooms, while tiling the floor first works better for larger spaces like kitchens. Whichever method you choose, proper planning and preparation are key to achieving a professional-looking finish.
Ready to tackle your tiling project? Share your experiences or questions in the comments below, and don’t forget to check out our other home improvement guides for more tips and inspiration!